
07
Jul
Jul
Login to your customized secure app with the provided credentials.
Login to your customized secure app with the provided credentials.
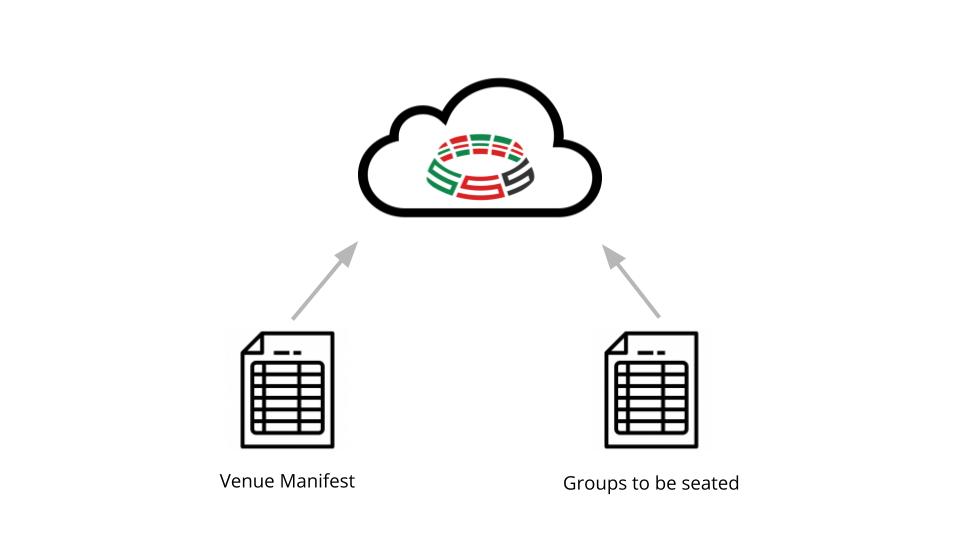
Upload your data to the cloud. There are 2 files required — the venue manifest and the groups to be seated. Then, select the desired sections & groups to optimize (e.g. Sections 3,4,5; Group ‘lower corner’)

If you specify a target capacity, as an absolute number, or as a percentage of total venue capacity, this tool will make some recommendations on policy choices (# rows to skip, # empty seats between groups, whether or not to allow aisle seating, …) to get you close to your target.
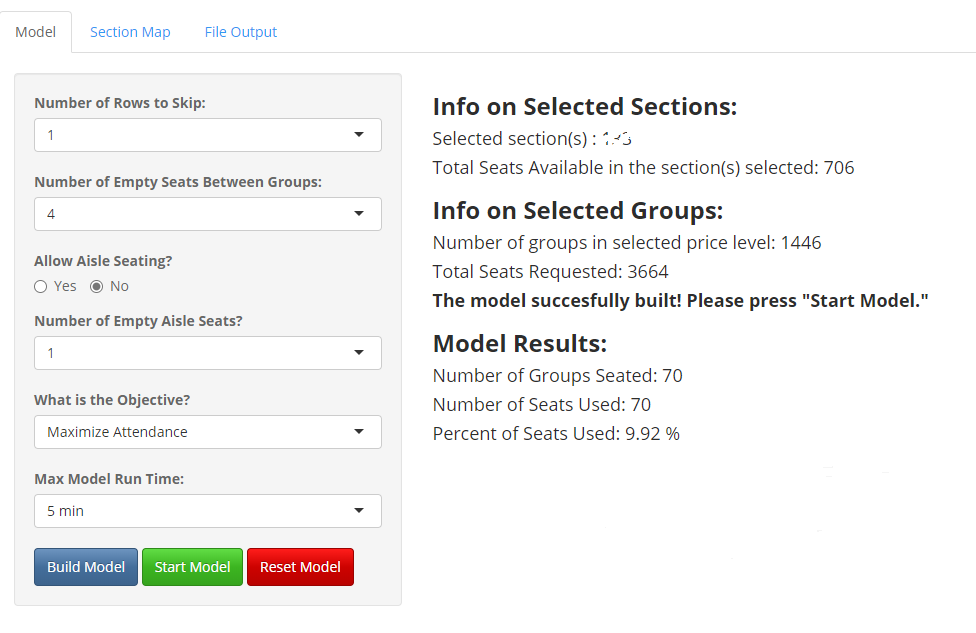
Select the policy choices (# rows to skip, # empty seats between groups, etc.) in the control pane on the left. You can specify how long you are willing to wait for an answer. Build the model and then run it. Look for results in the main pane.
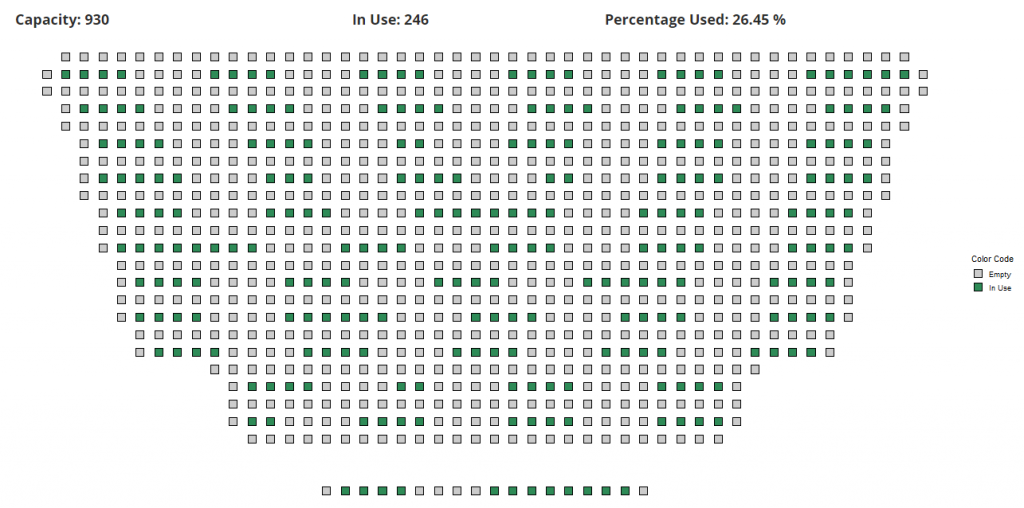
The seating map allows you to visually confirm, for one section at a time, that the policies you selected were implemented. Seats shown in green are where your fans or guests are seated; grey seats are left empty to provide physical distancing.
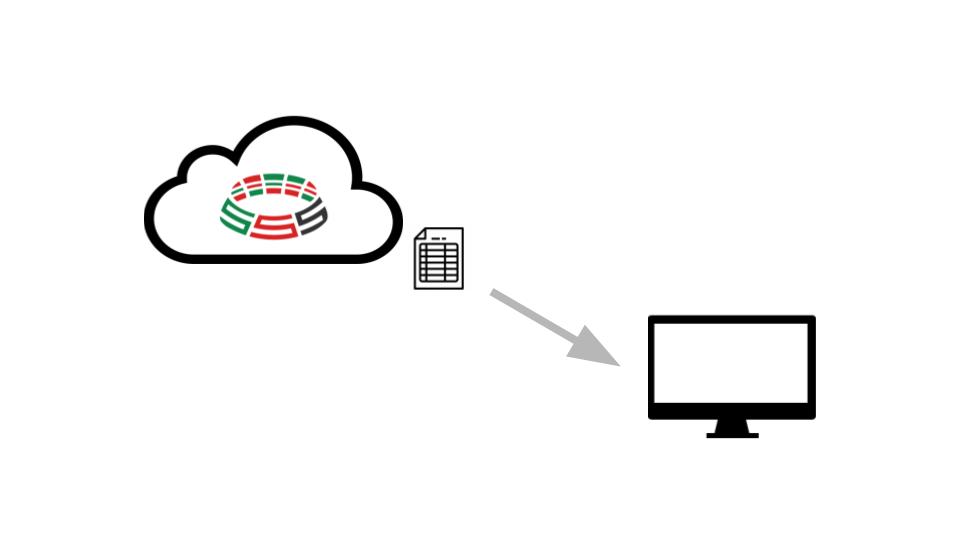
After you are done seating the section(s), you can download an updated version of the venue manifest (which now includes the group assigned to each seat), the groups list (with their assigned seats), and a model summary. You can use this information as inputs to your ticketing system.